| Skill area | Verified detail | Planning use |
|---|---|---|
| Navigation | A topographic map in a protective case, with the skill to read it, is the foremost necessity. A compass is reliable, lightweight and battery-free. | Learn both before the trip. The map and compass stay useful when a phone battery is flat. |
| Water | Carry at least two liters (quarts) per day, plus a collapsible container and a means of treating backcountry water. Treatment options include tablets, a filter or a UV stick. | Pick one treatment method before leaving and carry a backup for the same job. |
| Sun and warmth | Sunscreen of SPF 30 or higher. About 40% of body heat is lost through the head. | Pack a hat and sun protection for every outing, including cloudy ones. |
| Shelter | A lightweight tarp and 100 ft. of cord to lash it in place. A space blanket can serve double duty as shelter. | Choose the shelter setup that suits your route, then practise using it. |
| Overnight readiness | A hiker who cannot safely reach the trailhead before nightfall needs to be able to spend a night out. | Use this as the standard for what a day pack must contain. |
These figures come from the Colorado Mountain Club’s Ten Essential Systems materials and from SoCal Hiker’s Ten Essentials guide.
How to survive in the wilderness starts with preparation rather than improvisation: carry the Ten Essentials as working systems, navigate with a topographic map and compass, and be ready to spend a night out if you cannot reach the trailhead before dark.
This guide treats survival as hiking preparedness, organised by what a hiker does before leaving, on the trail, and after getting off route. The survival rule of threes helps rank priorities when things go wrong, and how to survive in the wilderness with nothing covers the harder case where the kit is lost or was never packed.
Before the hike: the kit and the standard it must meet
The essential wilderness survival skills for a hiker are mostly decisions made before the trailhead: what to carry, how to find the way and how to stay warm and hydrated if the day runs long. Improvised skills matter, but they work best when a basic kit backs them up.
Think in systems, not gadgets
The Colorado Mountain Club’s course materials describe ten essential systems. The list begins with navigation, sun protection, insulation (extra clothing) and illumination. Calling them systems rather than items is the useful part. Each system is a job to be done, such as finding the way, staying warm or seeing in the dark, and several different items can do the job. A hiker who thinks in jobs notices gaps that a shopping-list approach hides, such as owning a headlamp but no spare power for it.
That framing also helps when weight is tight. If one item covers two jobs, it earns its place. The same material points out, for example, that a space blanket can double as shelter, which is covered in the shelter section below.
Setting the standard: could you spend a night?
The most practical benchmark in the Colorado Mountain Club material is this: if you cannot safely get back to the trailhead before nightfall, you need to be able to spend a night out. That sentence changes what belongs in a day pack. A short walk with a slow turnaround, a wrong turn or a minor injury can all push a hiker past dark, so the kit should assume the night is possible.
This standard suits day hikers who tend to pack for the planned route rather than the unplanned one. It matters less on a short, well-travelled loop close to a trailhead, but the weight cost of a minimal overnight setup is modest, and the downside of leaving it behind is large. When choosing between a lighter pack and a more complete one, weigh the standard against the actual route: longer, more remote or later-starting outings justify the fuller kit.
Practise using each item at home or on an easy outing, because the first attempt at pitching a tarp or treating water should not be on a cold evening when you are already behind schedule.
Navigation: map, compass and route-finding
Navigation prevents most survival situations, because a hiker who knows where they are rarely needs the rest of the kit. The Colorado Mountain Club names navigation first among its essential systems for that reason.
Start with the topographic map
According to the Colorado Mountain Club, the foremost necessity for avoiding getting lost is a topographic map, carried in a protective case, together with the skill to read it. A topographic map shows the shape of the land, so it lets a hiker match what they see (a valley, a ridge, a saddle) to what is printed. Learning how to read a topographic map is therefore the first navigation skill worth building, ahead of buying better equipment.
A protective case is more than a convenience. A map that is soaked, torn or blown away is no use at the moment it matters, so carry it where it is dry and where you can reach it without unpacking.
What the compass adds
The same Colorado Mountain Club material describes the compass as reliable, lightweight and battery-free. Those three qualities are the reason to carry one even if you also use a phone. A compass does not depend on a signal or a charge, and it works the same way every time you pull it out. Used together with the map, it lets you take a bearing, confirm a direction of travel and check that a trail is heading where you expect. The full process is in the guide on how to use a map and compass.
For hikers who have not bought one yet, the comparison guide to the best compass for hiking explains what to look for. Whichever model you choose, a simple one you can use confidently beats a feature-heavy one you have never practised with.
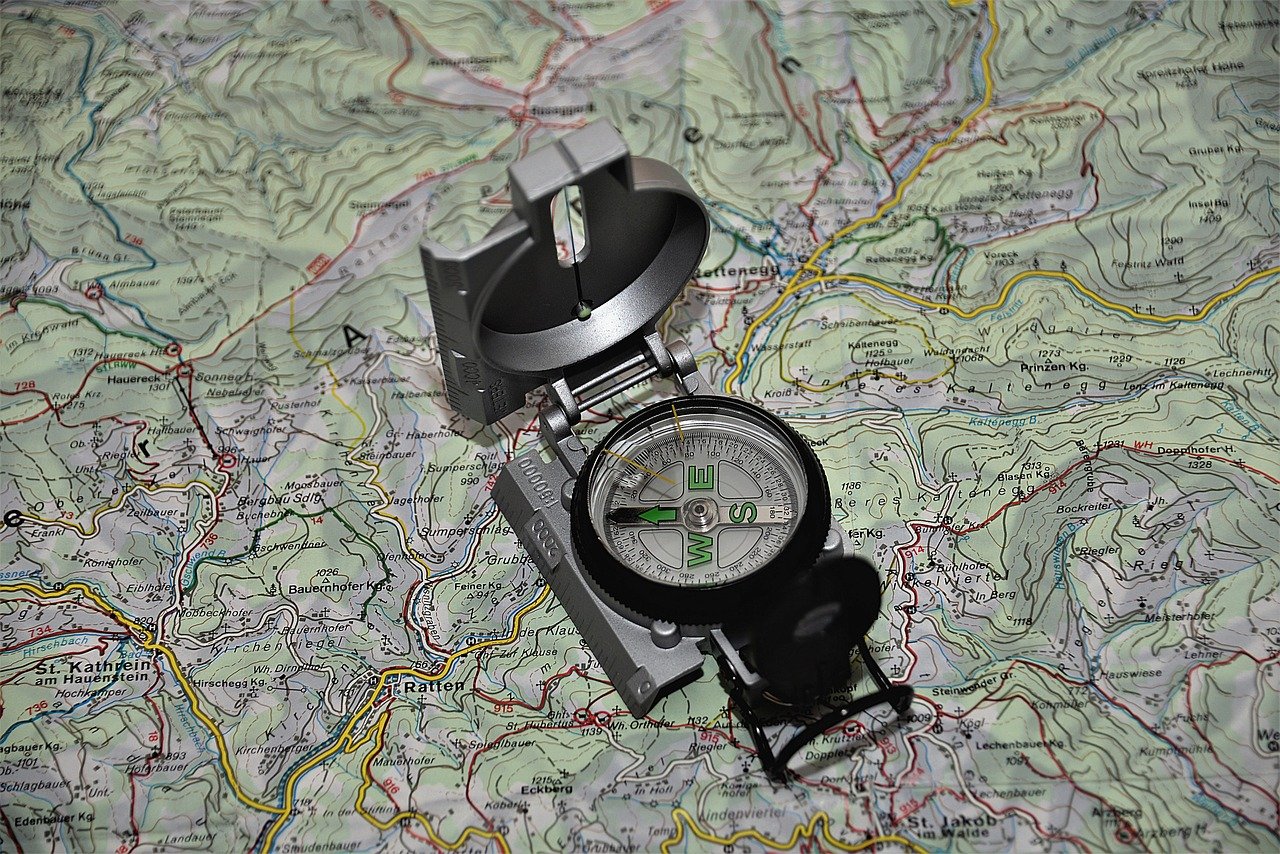
When the compass is missing
Compasses get dropped, and sometimes a hiker has none. Methods for how to find north without a compass can fill the gap, but they are approximations. Treat them as a fallback for choosing a general direction, not as a replacement for the instrument. The better habit is to carry the compass in the same place every trip so it cannot be forgotten.
Checking position as you go
The route-finding habit that prevents most problems is simple: look at the map at every junction, at every notable change in terrain and whenever the trail feels different from what the map suggests. Small, frequent checks keep an error to a short distance. Waiting until you feel lost means the error has had time to grow. This is also why a trail signpost is not a full answer: it tells you the direction at one point, while the map tells you what lies between points.
Gear that keeps a day hike safe
A hiker’s gear is a set of margins: against sun, cold, darkness and equipment failure. The Colorado Mountain Club material gives the most specific guidance on those margins, and it is worth turning into packing decisions.
Sun protection and insulation
The Colorado Mountain Club advises sunscreen rated SPF 30 or higher, and lip balm of at least SPF 15. It also notes that ultraviolet rays penetrate clouds and can burn skin or eyes even on cloudy days. The practical reading is that an overcast forecast is not a reason to leave sun protection at home. Open terrain at elevation gives little shade, so hats and sunglasses belong in the pack alongside the sunscreen.
On insulation, the same course materials note that about 40% of body heat is lost through the head. That is a good reason to pack a warm hat even for a day that starts mild. A hat is among the lightest insulation items per unit of warmth, and it is easy to put on without stopping to unpack layers.
Footwear and footing
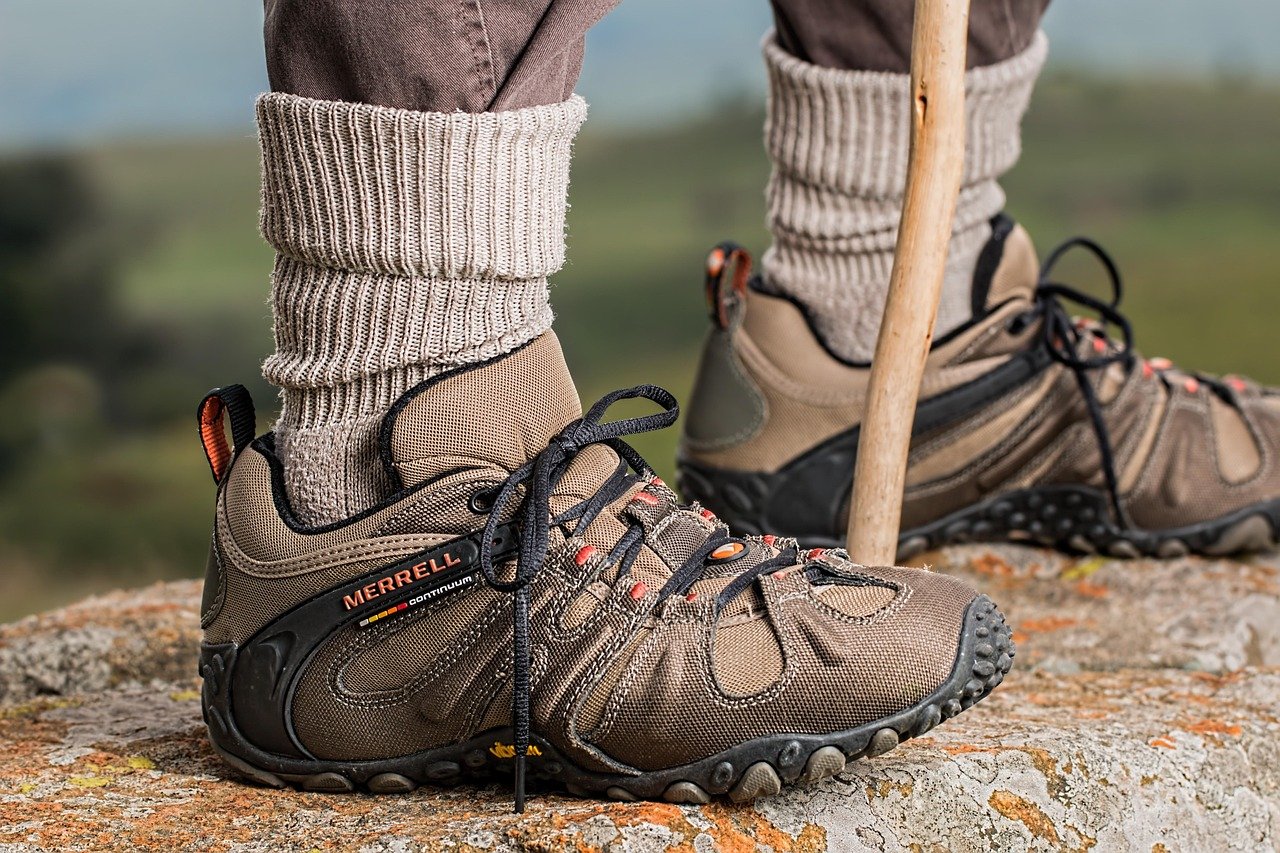
Boots and poles are the equipment most hikers already own, and they deserve checking before every trip. Footwear that fits and has been worn before is a safety item, because blisters and slips slow a hiker and can turn a manageable day into a late return, and a late return is exactly the situation the overnight standard is meant to cover.
Light and batteries
Illumination is the fourth system on the Colorado Mountain Club list, and its materials warn that alkaline batteries lose power in extreme cold. If a hike may run past dark in cold conditions, that is a reason to carry spare batteries and keep them warm rather than trusting a single set. Starting a hike with a light that already works, and knowing how to switch it on without fumbling, matters more than the model.
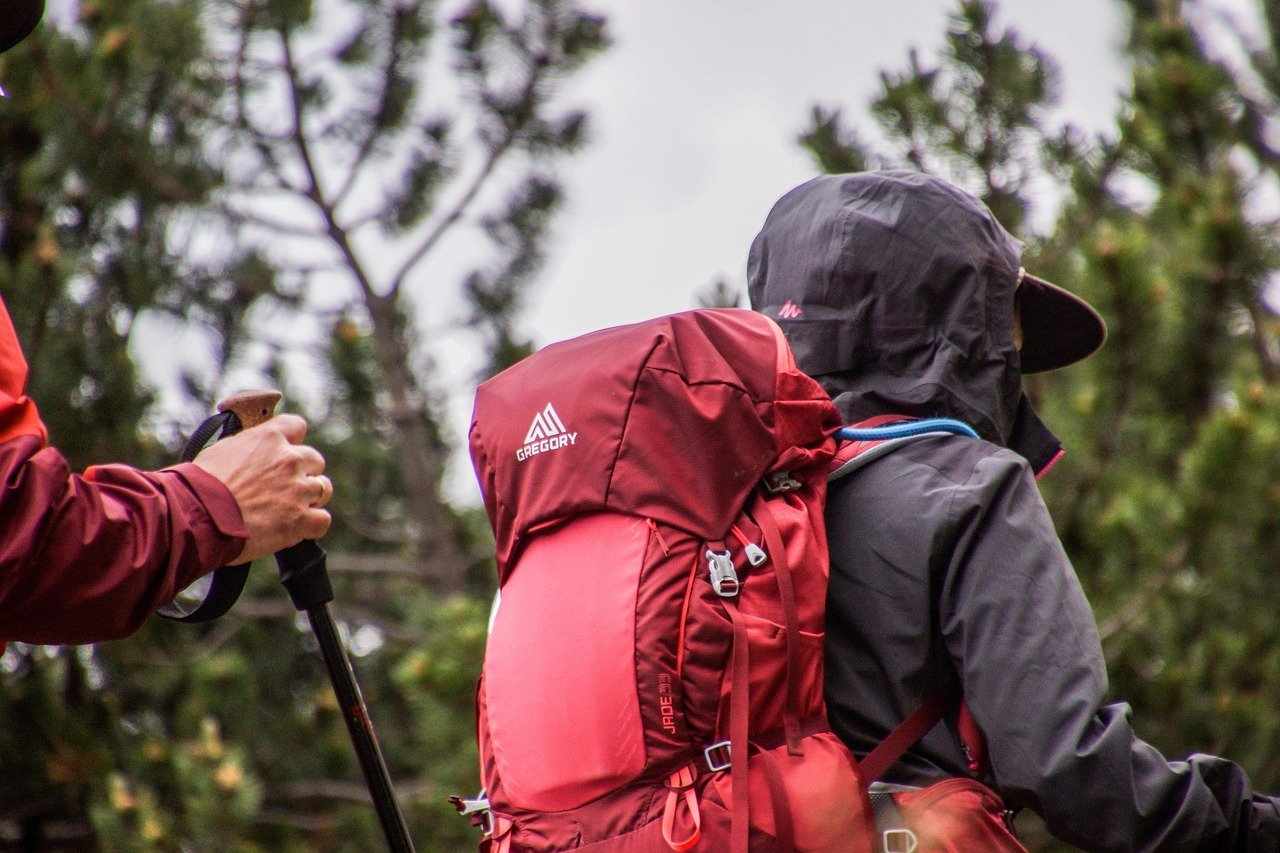
Packs, poles and repairs
Trekking poles take load off knees on descents and help with balance on rough ground, and they can also carry small repair supplies. The Colorado Mountain Club suggests wrapping duct tape around a water bottle or trekking poles, which stores a repair material without using pack space. Tape can mend a torn pack strap or a damaged piece of gear, which is useful when a failure would otherwise force an early return.
Water: carrying and treating it
Treating water on the trail means carrying a treatment method and using it on every untreated source, rather than assuming clear water is safe. Water is the area where preparation pays off most quickly, because dehydration builds well before a hiker would run out of food.
How much to carry
The Colorado Mountain Club says to carry at least two liters or quarts per day, and recommends a collapsible water container and a means of treating backcountry water. The word “least” matters: that figure is a floor, not a target for hot, exposed or strenuous routes. Where a route has no reliable water, carry what you need for the whole outing. Where it does cross streams, the collapsible container lets you collect more at a source than your bottles hold, so you can treat water at a convenient stopping point.
Knowing how to find water in the wilderness is a useful backup skill, but it is not a plan. Planning to find water on the way is the riskier choice; carrying enough and treating what you collect is the safer one.
Treatment options
According to SoCal Hiker, backcountry water treatment can be tablets, a filter or a UV stick. A survival-skills guide from Tactree likewise advises always carrying a reliable water filtration system or purification tablets. The three approaches differ in what they cost, how much they weigh and how they fail:
- Tablets: very light and easy to carry as a backup. They need no moving parts, which suits a spare kit.
- Filter: a water filter suits hikers who treat water often or travel as a group, since it processes larger amounts at a source. It is also the item most likely to need maintenance or to suffer damage.
- UV stick: quick to use, but it depends on a battery, which is exactly the type of dependency the cold-weather battery warning above applies to.
Follow the manufacturer’s instructions for any product, because contact time and handling rules vary between methods and models. The guide to water filter vs purifier compares the approaches in more depth.
Matching a method to the trip
For a day hike with reliable water on the route, a small filter or tablets as a backup is enough. For longer trips, carry the main method and a lightweight backup of a different kind, so one failure does not leave you without safe water. The Tactree guide also notes that humans can survive for weeks without food but only a few days without water, which is why water treatment is a higher priority than a bigger food bag.
Shelter and warmth when the day runs long
Shelter and warmth cover the gap between an unplanned delay and a genuine emergency. The kit for this does not need to be heavy, but it should be something you can deploy in poor light with cold hands.
Emergency blanket or tarp
The Colorado Mountain Club suggests a lightweight tarp and 100 ft. of cord to lash it into place as an emergency shelter. SoCal Hiker adds that a space blanket can serve double duty here. The two options suit different hikers. An emergency blanket is the lighter and more compact choice for day hikers who want a minimal overnight margin. A tarp and cord weigh more but give a proper roof and are better suited to longer or more remote trips where a night out is a realistic possibility.
Whichever you choose, deploying it is a skill. Practise unfolding it, anchoring it and getting under it, and learn essential survival knots so the cord can be secured quickly. The step-by-step guide on how to build an emergency shelter covers the improvised options when there is no tarp.
Fire as a supporting skill
Fire can provide warmth and a visible signal, but it is a supporting skill rather than the first answer. A hiker with an insulating layer and a shelter has already solved most of the warmth problem. Learning how to start a fire in the wilderness is worth doing on a calm day with the right gear, so that it does not become an experiment in a storm.

Priorities: the rule of threes
The rule of threes gives hikers a way to rank problems when several arrive together. According to Western Hunter’s survival tenets, a person can survive about three minutes without oxygen, three hours without shelter, three days without water and three weeks without food.
| Need | Rule-of-thumb limit | Planning use |
|---|---|---|
| Oxygen | Three minutes | Deal with anything affecting breathing before everything else. |
| Shelter | Three hours | Act on warmth and protection early, before comfort becomes a crisis. |
| Water | Three days | Treat finding and treating water as the next task once shelter is handled. |
| Food | Three weeks | Food is the lowest priority in a short emergency, so do not risk safety to find it. |
The figures are Western Hunter’s rule of thumb, and the Tactree survival guide makes the same point about water and food in looser terms: weeks without food, only a few days without water.
Use the rule to order decisions, not as a countdown. Real limits depend on conditions, and the table should not be read as a promise that anyone is safe up to the stated time. What the ordering does show is why a hiker who is cold and short of daylight should deal with shelter before worrying about hunger, and why water matters more than food on a long walk out. The full explanation sits in the guide to the survival rule of threes.
If you get off route
To stay safe if you get lost while hiking, stop and decide before moving further, make yourself easy to find, and prepare for a night out rather than gambling on a late exit. The kit you packed earlier now decides how comfortable that decision is.
Stop and decide
The first decision is whether to keep moving. Moving without a plan tends to add distance between you and the last place you knew your position. Look at the map, think back to the last point you were certain of, and compare the terrain around you with what is printed. If you can identify your position or a clear route back, follow it carefully. If you cannot, staying put is often the better choice. The guide on what to do if you get lost hiking sets out the decision in more detail.
Make yourself findable
Signalling is a skill with tools: sound, visibility and electronic devices each play a part. How to signal for help in the wilderness covers the options. For hikers who travel beyond phone coverage, the comparison of a personal locator beacon vs satellite messenger helps decide which type of device fits the kind of trip.
Prepare for the night
Once it is clear you will not reach the trailhead before dark, switch from route-finding to staying warm and protected. Put on the insulation you carry, including the hat, and use the shelter you packed. Keep drinking treated water. Attend to any injury using wilderness first aid basics. Hikers who accept the night early, while there is still light to work in, generally have an easier time than those who keep pushing on in the dark. This is the case that the overnight standard from the Colorado Mountain Club was written for.
After the outing: restock and review
Preparedness continues after a hike ends. Any item used on the trail, whether treated water supplies, tape, batteries or sunscreen, needs replacing before the next outing, because a kit that was depleted last time is the kit that fails next time. Check that the map case is intact, that the compass moves freely and that the water treatment method still works.
After any trip where the route or the schedule went wrong, review what happened while it is fresh. Ask where the first wrong decision was: a missed junction, a late start, an item left behind. Adjust the plan and the pack accordingly. This habit turns each close call into a better kit and a better set of habits, which is more reliable than hoping for better luck.
Choosing where to start
Where to begin depends on how much of the system you already have in place. The right order is to fix the most likely failure first, not to buy the most interesting equipment.
- If you navigate by phone alone: add a topographic map and a compass, and learn to use them together. This is the single most useful upgrade, since neither needs a battery or a signal.
- If you hike without a water plan: choose a treatment method, carry a collapsible container and settle on a minimum amount to bring. A reliable method and enough capacity matter more than which brand you pick.
- If your pack has no night-out margin: add an emergency blanket or tarp, an insulating hat and spare power for your light. These items are the difference between an inconvenient delay and a dangerous one.
- If your kit is complete but untested: spend a short outing using each item on purpose. Skills fade, and the first use of any tool should not be during an emergency.
Whichever starting point applies, build outward from the basics rather than collecting advanced skills first. A hiker with a map they can read, a compass they trust, treated water, a hat and a simple shelter is prepared for most of what goes wrong, and each of the linked guides in this hub builds one part of that foundation.
Frequently asked questions
Where did the Ten Essentials list come from?
According to SoCal Hiker, the Ten Essentials were first described in the 1930s by The Mountaineers. The modern versions group the items into systems, as the Colorado Mountain Club does.
Can a visitor center map replace a topographic map?
Generally no. The Colorado Mountain Club notes that visitor center maps are typically line drawings of trails and lack the topographic detail needed for route-finding. For navigation, carry a topographic map in a protective case.
What makes a signal whistle useful?
The Colorado Mountain Club says a whistle for signalling an emergency should be very accessible and loud enough to be heard at a distance. Carry it where you can reach it without opening the pack, such as clipped to a strap.
How should a hiking knife be carried?
The Colorado Mountain Club advises that a knife should be very accessible and operable with one hand. That makes a simple, easy-to-open design a better fit than a complicated multi-tool buried in the pack.