| Phase | What to read on the map | Planning use |
|---|---|---|
| Orient | The map as terrain flattened into a 2D view | Treat the sheet as a picture of hills and valleys, not just paths. |
| Contours | Each line joins points at the same elevation | Trace your route across lines to see where it climbs or descends. |
| Elevation | Contour interval and labelled index contours (10 metres between lines in one example) | Turn the number of lines crossed into a sense of total climb. |
| Steepness | Close lines mean steep land; wide lines mean a gentle slope | Mark the tough sections before you set a pace or choose a turnaround point. |
| Landforms | Peaks, ridges, valleys, saddles, depressions | Predict the views, the climbs and the places where water collects. |
| Symbols | The legend printed on the map | Confirm what each mark means before relying on it. |
The glance table follows the approach in a topographic map reading guide, which describes contour lines, intervals and landform shapes.
To learn how to read a topographic map, start with the contour lines. Each line joins points at the same elevation, and the spacing between lines shows how steep the ground is. Check the contour interval next, then the legend.
This guide covers the map itself, so you can judge a route before you leave. It is one skill within how to survive in the wilderness, and it works best when you read the terrain first and add other navigation tools afterwards.
Phase one: understand what the sheet shows
A topographic map is like a 3D model of the terrain flattened into a 2D view, according to the same reading guide. The contour lines are what carry the third dimension. They represent elevation changes, so every curve on the sheet is a statement about height.

Beginners tend to look first for the trail and then glance at the contours. Reverse that order. Read the shape of the land first, then lay the trail over it. A route that looks short on paper can still hide a long climb, and only the contours reveal it.
Phase two: read the contour lines
Contour lines show elevation changes, and all points along an individual contour line are at the same elevation. That single rule explains most of what you see. If you walk exactly along a line, you neither climb nor descend. If you cross lines, you gain or lose height.

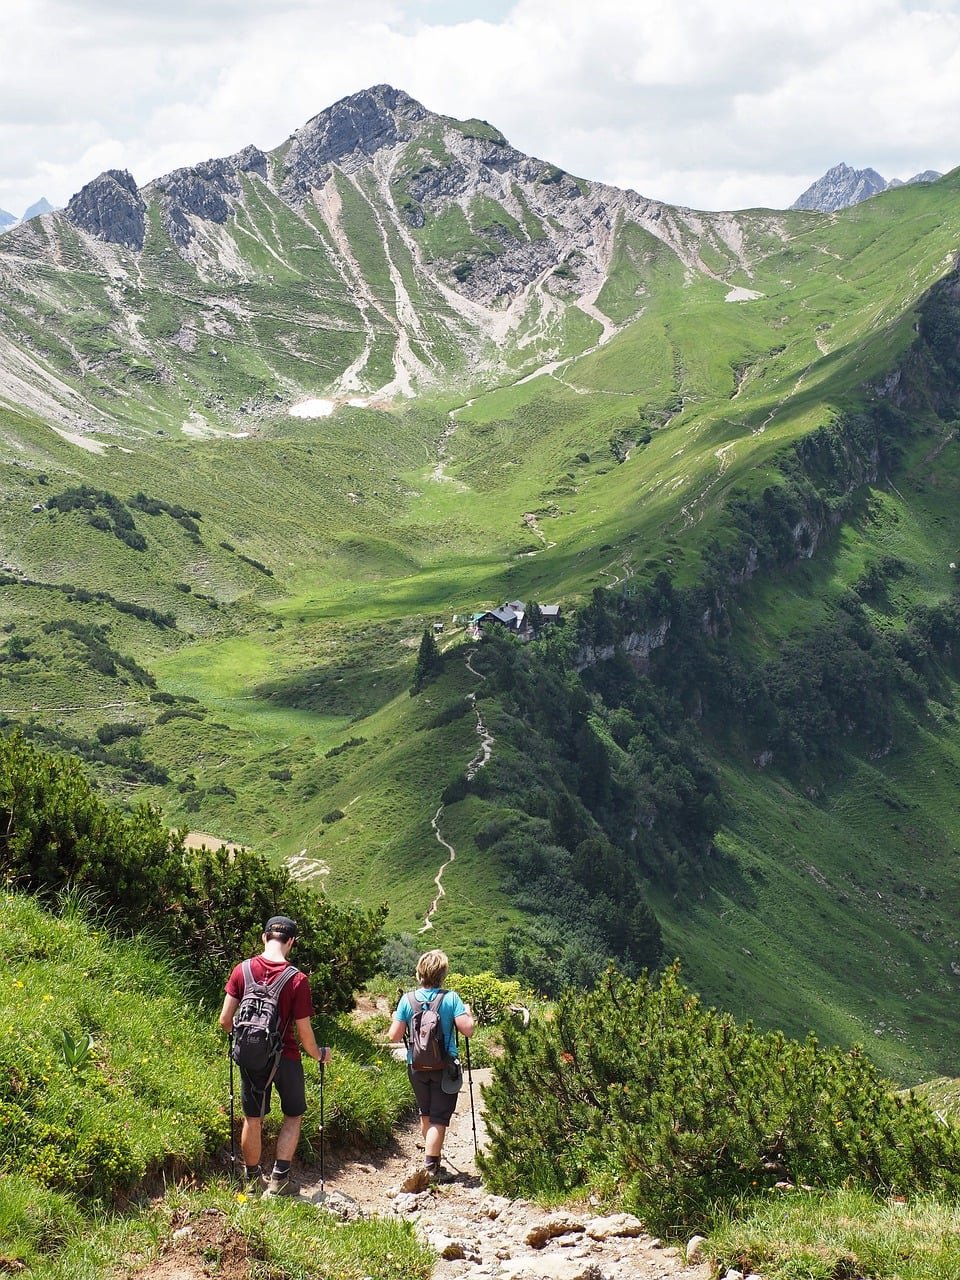
Reading contour lines becomes easier when you picture them on real ground. Terraced hillsides show the idea well, because each stepped edge follows one level around the slope.
How to trace a line
- Pick a point on the map, such as a trail junction or a lake.
- Find the nearest contour line and follow it with a finger.
- Notice that every point you pass sits at the same elevation.
- Step sideways to the next line and note whether the ground rises or falls.
Phase three: work out elevation
Elevation on a topo map comes from two things: the contour interval and the labelled lines. The contour interval is the difference in elevation between two adjacent contour lines. In the guide’s example, an interval of 10 metres means the elevation rises or falls by 10 metres between each line.
Intervals vary between map series, so find the stated interval on your own sheet rather than assuming one. It is normally printed with the scale information, which is why the legend deserves a look before any planning.
Using index contours
Index contours are the lines that carry a printed height. On the sample map in the guide, the actual height is indicated every 50 metres. Use a labelled line as your anchor and count the unlabelled lines above or below it, multiplying by the contour interval.
- Find the nearest labelled index contour to your start point.
- Read its printed height.
- Locate your destination and find the nearest labelled line there.
- Compare the two heights to see the net climb or descent.
This gives a quick answer to “how high does this walk go?” without extra tools. It also shows why a short route between two close heights can feel flat, while the same distance between widely different heights will not.
Phase four: judge steepness
Contour spacing indicates steepness. If the lines are close together, the land is steep, like climbing stairs. If the lines are far apart, the land is more gently sloped, like walking up a ramp. Tightly bunched lines are the cue to mentally prepare for a tough uphill climb.
What to do with the spacing
- Tight lines on your route: allow extra time, plan rests and think about whether the section suits everyone in the group, especially beginners.
- Wide lines on your route: expect easier walking and a steadier pace, though the total height gain still depends on the interval and the labelled heights.
- Mixed spacing: look for where the tight section starts, so the effort does not catch you out late in the day.
Phase five: recognise landforms
Contour shapes repeat in recognisable patterns. Learn a handful and you can read a hillside the way you read a sentence. The table below collects the patterns described in the guide.
| Landform | How it appears on the map | Planning use |
|---|---|---|
| Peak | The innermost circle of a set of rings represents the peak | Identify summits as natural destinations or turnaround points. |
| Depression | Hachure marks (small inward-facing lines) on the inside of a closed contour | Avoid mistaking a hollow for a hill when the rings look similar. |
| Valley or stream bed | V-shaped contour lines, with the V pointing upstream toward the head of the valley | Expect low ground, and a likely watercourse, where the Vs point uphill. |
| Saddle | A figure-eight or hourglass shape | Look for low points between two higher areas as potential crossing places. |
| Ridge | A long, narrow elevation with lines tapering at both ends | Expect a defined crest that stands above the ground on either side. |
These landform patterns come from the contour-reading guide.
When you can name the landforms along a route, you can predict what the day will feel like. A valley floor usually suggests a steadier walk, a ridge suggests exposure and views, and a saddle suggests a place where the climb changes character.
Phase six: use the legend and symbols
Contour lines are only part of the picture. The legend explains the other marks, such as trails, water, buildings and vegetation. Read it before you start planning, because symbol styles are not guaranteed to match from one map to another.
Contour-specific symbols are worth memorising first. Hachure marks mean a depression, and the V, hourglass and tapering shapes in the table above mark valleys, saddles and ridges. Everything else comes from the printed legend, so check it each time you pick up a new sheet.
Phase seven: check the route before you leave
Put the skills together as a short pre-hike routine. Work through the route in order and write down anything that changes your plan.
- Find the stated contour interval and the labelled index contours.
- Trace the route and note where it crosses many lines in a short distance.
- Mark the sections where lines are tightly bunched and plan extra time there.
- Identify the peaks, ridges, valleys and saddles the route passes through.
- Check the legend for every symbol you do not recognise.
Once the terrain makes sense, add direction-finding. For bearings and following a line across country, see how to use a map and compass. If your compass is unavailable, how to find north without a compass covers other cues.
Troubleshooting common confusion
- A ring could be a hill or a hollow: look for hachure marks, the small inward-facing lines. If they are present on the inner contour, it is a depression, not a peak.
- Heights do not add up: return to the contour interval. It is the elevation difference between two adjacent lines, so a wrong interval throws off every estimate.
- A route seems gentle but the lines are crowded: trust the lines. Close spacing means steep land, whatever the trail symbol suggests.
- A valley and a ridge look alike: check the shape. Ridges are long and narrow with lines tapering at both ends, while valleys show V shapes pointing upstream.
Frequently asked questions
What is the best topo map type for a beginner hiker?
A printed topographic map is a sound starting point, and digital apps are a useful companion. Apps let you view topo maps digitally and zoom in for detail, but a physical map and compass should still be carried as a backup.
Do I need a compass to read a topographic map?
No. Reading contour lines, elevation, steepness and symbols is a map skill on its own. A compass only becomes necessary when you want to take or follow a bearing.
What does a topographic map show that a standard map does not?
Standard maps tend to show roads, paths and landmarks only. A topographic map adds elevation and terrain features such as hills, valleys, ridges, flat areas and other natural features.